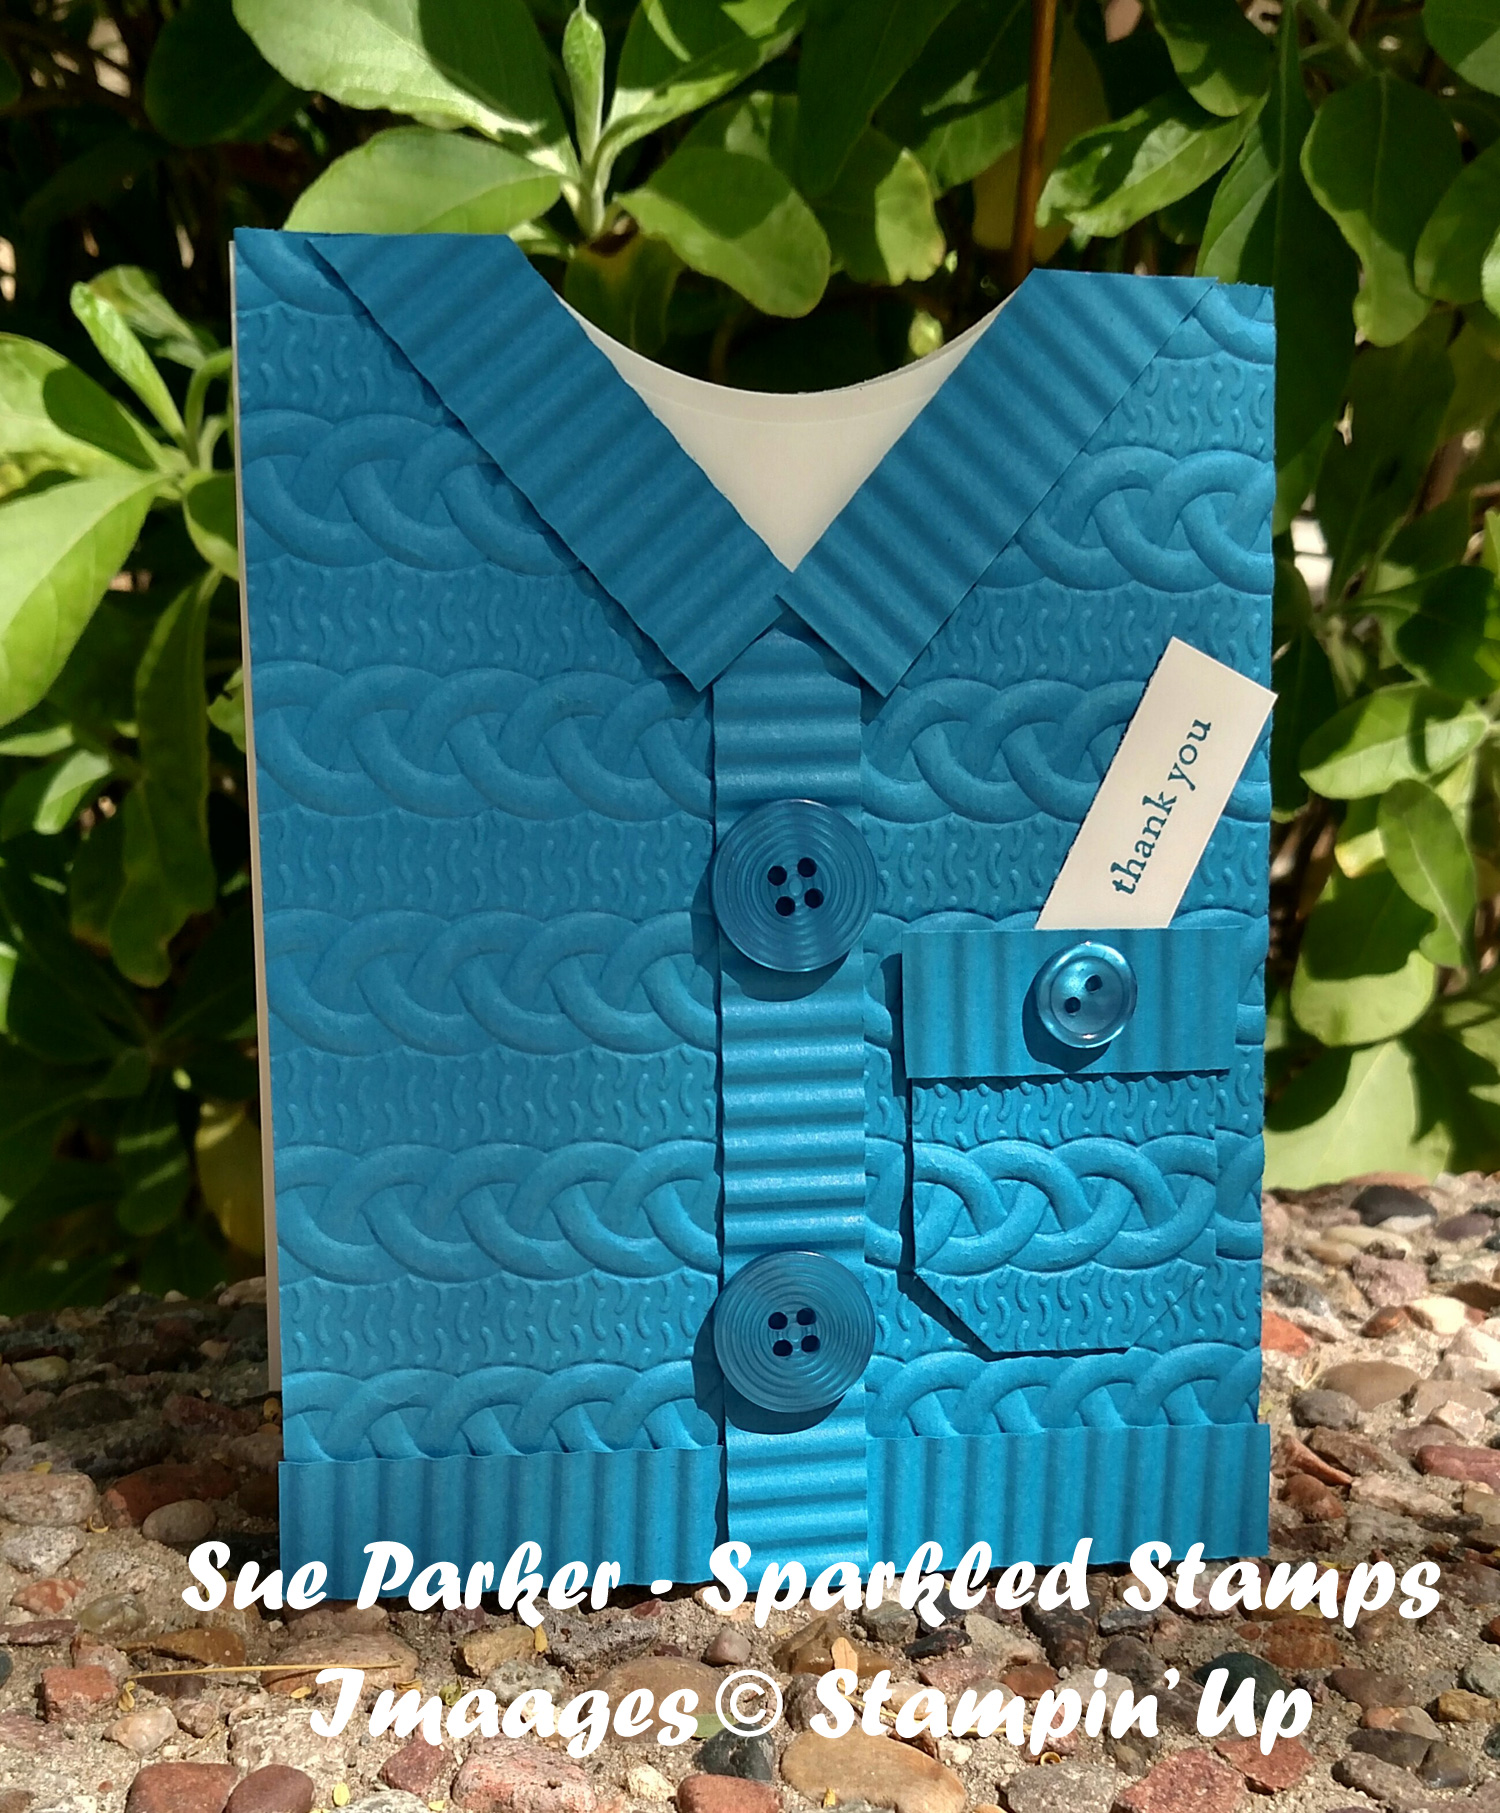
Thank you for all the sweet comments here and on Facebook about my Sweater Card! A few people have asked if I could share some instructions. Here you go! Play with yours a bit to get the neck lined up. It’s not too hard (if I can do it, anyone can, lol). My card is in Pacific Point and Very Vanilla.
Here’s the template for the outside part – single layer of cardstock with a V neck cut about like this:

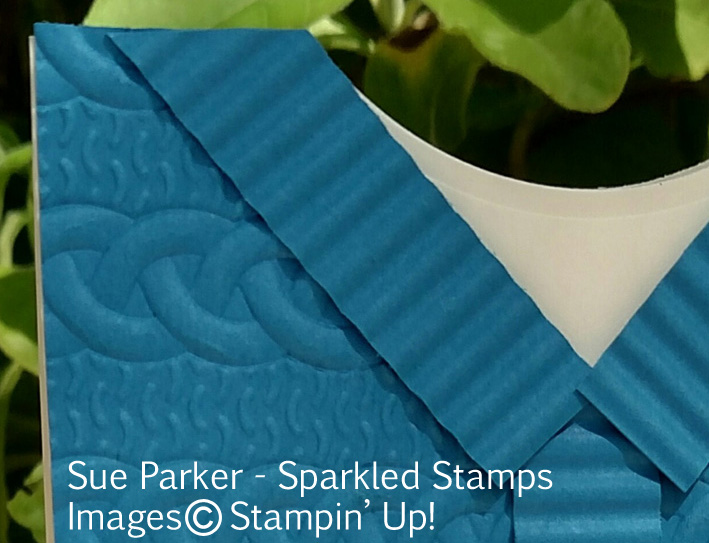
Run it through the Big Shot with the Cable Knit embossing folder that will be available September! It’s a super thick folder. I follow Stampin’ Up’s suggestion and mist the cardstock lightly with some water from a spray bottle. It helps soften the fibers of the paper. Remember to feed the fold of the folder into the first.
I have my cables going horizontally, but some real life knitters pointed out that cables go vertically on a sweater. I tried it both ways and thought it just looked cuter horizontally. Maybe I’ll look skinnier when I hold it up, ha ha.
You’ll also need a bit of the sweater color paper to emboss a pocket. I embossed first so I could cut my pocket out of the embossed piece – then I could match up the pattern. The size of the pocket is shown a few images down.
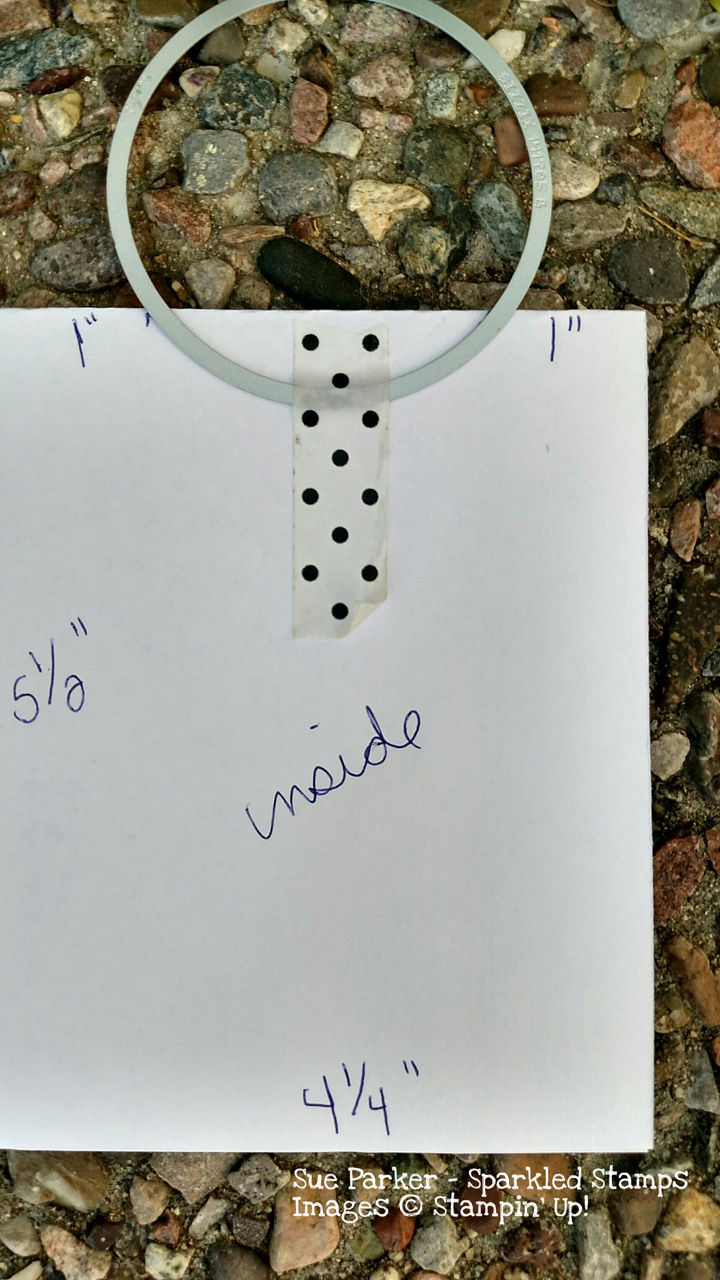
The inside of the card is your coordinating cardstock (mine is Very Vanilla). It’s 11 inches by 4.25, scored at 5.5 inches.
Then I used one of the layering circles framelits and made the neck hole. I positioned the framelit so that it will be just about at the same place as the V on the front. Cut the neck hole on the fold of the card base.
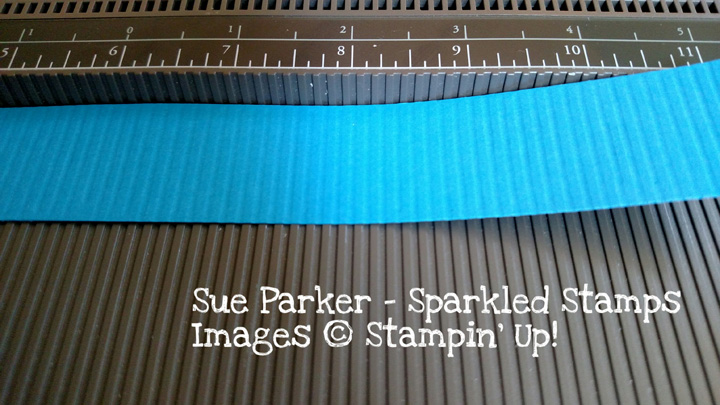
So on my card, I pulled out my old paper crimper from the 1990s. Janice Thomson had a GREAT suggestion in Facebook group though…use our scoreboard! GENIUS!!!
Cut some 1/2 inch strips of your cardstock and score on every groove. You’ll need about 12-14 inches of ribbing for the trim.
After you have your scored strips, cut them in pieces like this (here’s the pocket measurement too).
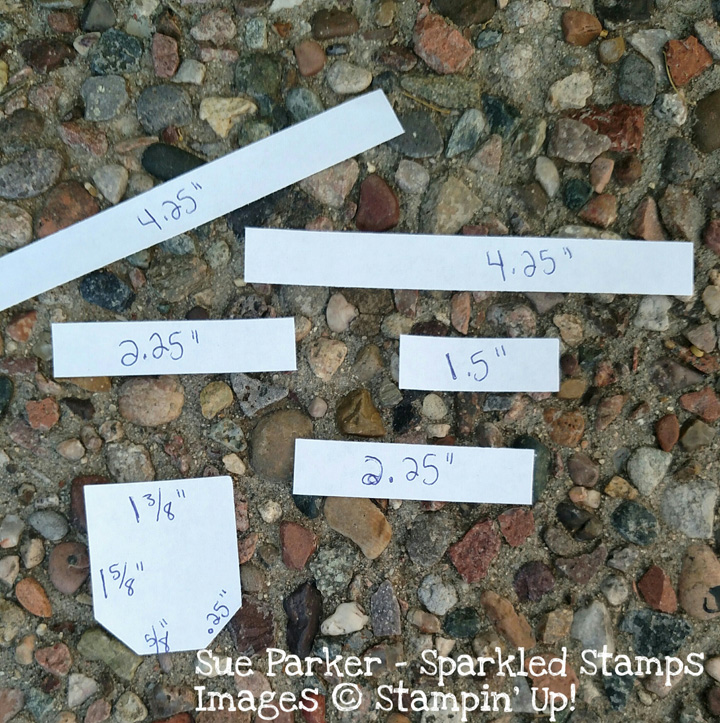
Place a 4.25 strip in the center, then angle the two 2.25 strips along the v-line. Snip off at the shoulder at an angle.
 I’m using up my stash of retired Stampin’ Up! buttons, but you can use just punch some paper buttons using a circle punch and using a marker to make the little holes. Pop them up with dimensionals. Actually it would be a little easier to mail without real buttons!
Let me know if you have any questions!
 There’s a story to my Sparkled Pony name and you can read about it