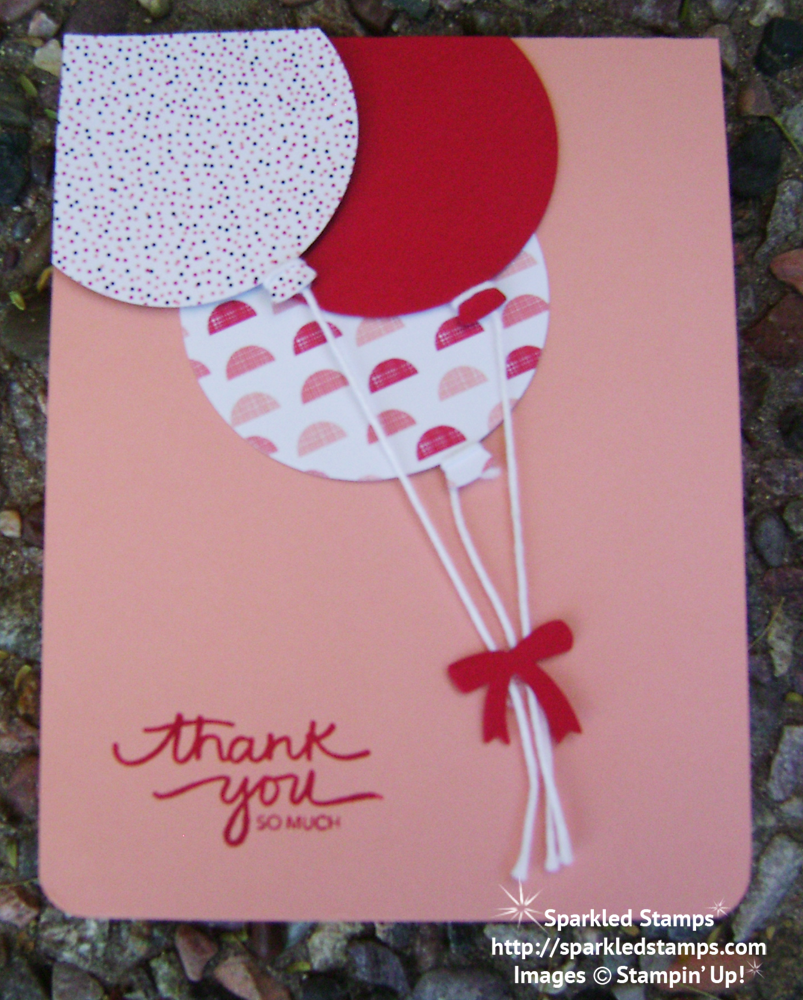
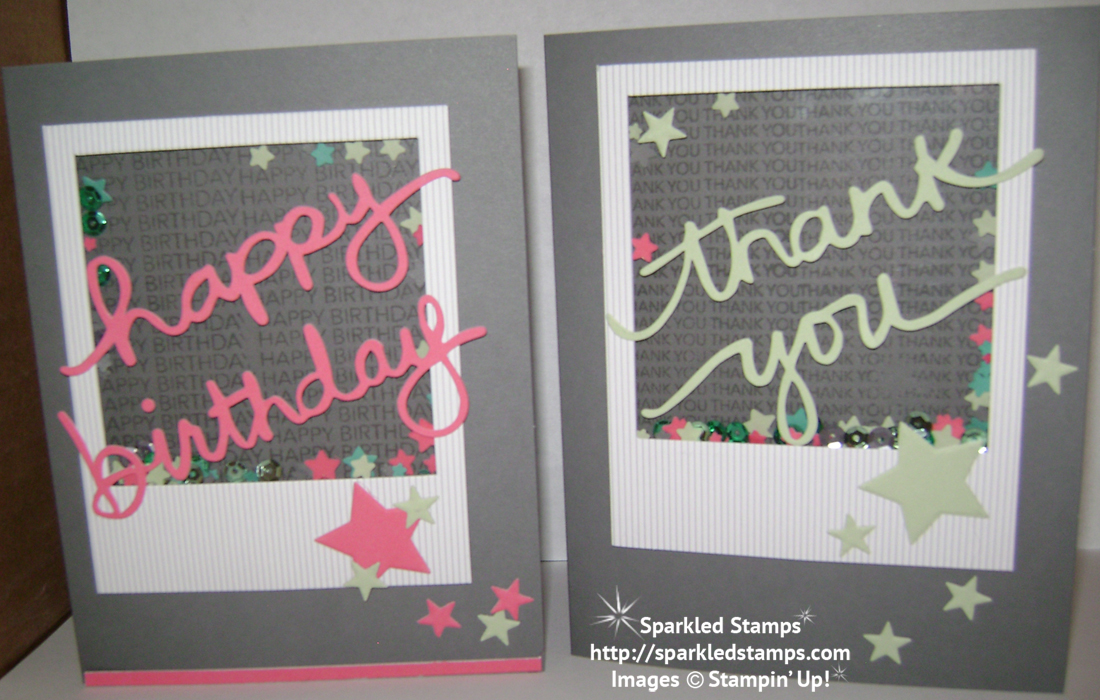
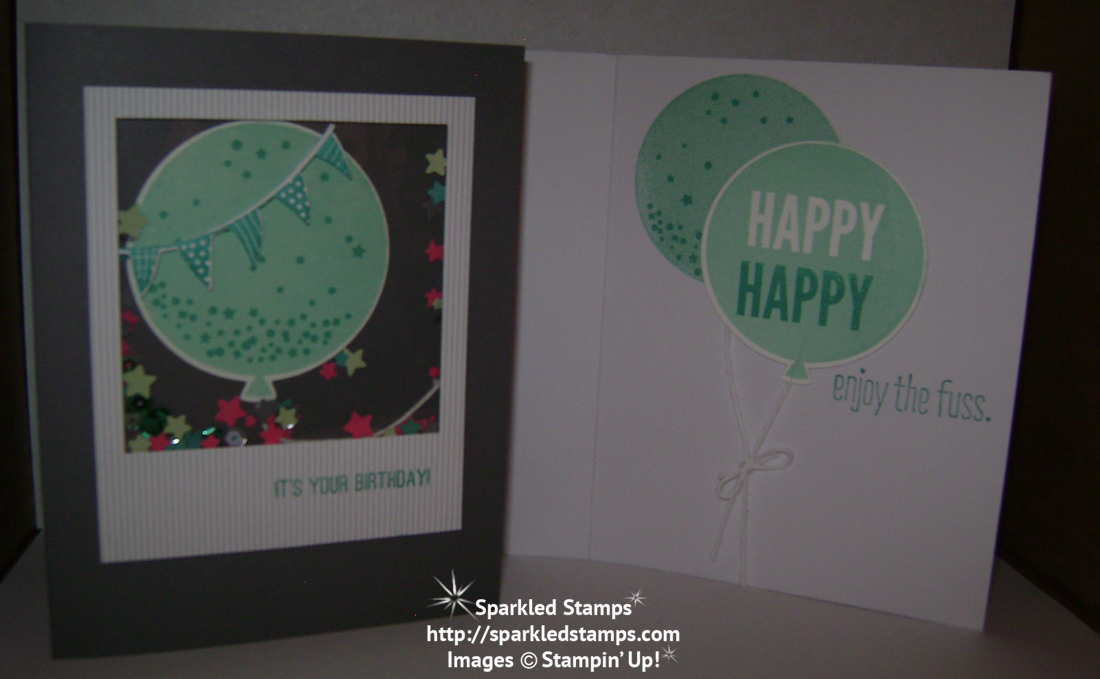
This little card comes together so easily but has a good “wow” factor!� The most time consuming part is tying strings onto the tiny balloon stems!� This is a case from Lorri Heiling except I changed out the color pallet and the Designer Series Paper.� And the stamp 🙂
Supplies I used:
- Balloon Framelits (Occasions catalog p11)
- Stacked with Love Designer Series Paper Stack (Occasions catalog p5)
- Real Red cardstock
- Crisp Cantaloup cardstock
- Your choice of sentiment (I used the thank you stamp from my All Shook Up Paper Pumpkin kit)
- Real Red ink
- Dimensionals
- Glue Dots
- White Baker’s Twine
- Project Life Corner Rounder
- Big Shot Cutting Machine
Instructions
- Cut a card base of Crisp Cantaloup (4.25 x 11, scored at 5.5)
- Using the Big Shot, cut out two balloons using your choice from the Designer Series Paper Stack.
- Using the Big Shot again, cut a third balloon and the little bow out of Real Red cardstock.
- Tie each balloon with a piece of white Baker’s twine. I hid my knot on the backside of the balloon.
- Layer the three balloons with two balloons hanging off the top left corner of the card.
- I popped up the top left balloon with dimensionals.
- Use a glue dot to adhere the three strings into a little bunch.
- Use a glue dot to adhere the bow to the strings.
- Using paper snips, cut off the edges of the balloons, making sure not to cut the fold of the card!
- Stamp sentiment in corner using Real Red.
Tip
Whenever I’m kind of at a loss for what color combination to use, I get my inspiration from a piece of Designer Series Paper.� I’m not sure I would ever have put these two colors together on my own, but oh my gosh, I love them together!� The Designer Series Paper makes me think, well if Stampin’ Up! thinks they go together, then they must!� LOL


 There’s a story to my Sparkled Pony name and you can read about it